DQ200 DSG Clutch Judder: Causes, Solutions, and Extending Lifespan
Experiencing DQ200 DSG clutch judder or premature wear? Discover the causes, symptoms, permanent solutions, and essential tips to extend your clutch's life.


Contents
- What is a Dry Clutch and Why Does It Overheat So Quickly?
- The Real Reason Behind the 1st to 2nd Gear Shudder
- How to Tell If the Clutch Is Worn or Damaged?
- The Solution: Clutch Kit Replacement and the Dual-Mass Flywheel Detail
- How to Extend the Lifespan of a DQ200 Clutch (Essential Driving Tips)
- How is a DQ200 Clutch Replacement Performed? (Precision Assembly Detail)
- 2026 DQ200 Clutch and Flywheel Replacement Costs in Europe
First of all, if you'd like to go back to the basics and revisit the general architecture of this transmission, you can check out our initial DQ200 DSG Transmission Guide. After uncovering the inner workings of mechatronic failures, it's time to dive into the issue that frustrates DQ200 drivers the most in daily traffic and ruins ride comfort: Clutch judder (shudder) and premature clutch wear.
Particularly common in models like the Volkswagen Golf, Passat, Seat Leon, and Skoda Octavia, this problem manifests as an annoying shaking and shuddering felt throughout the entire chassis when pulling away from a standstill or shifting from 1st to 2nd gear. But why does a transmission known for lighting-fast gear changes start to shudder, and what is the permanent solution?
What is a Dry Clutch and Why Does It Overheat So Quickly?
DSG (Direct-Shift Gearbox) transmissions utilize two separate clutches. The first clutch (K1) controls 1st, 3rd, 5th, and 7th gears, while the second clutch (K2) manages 2nd, 4th, 6th, and reverse gears.
The biggest Achilles' heel of the DQ200 is that it is a "dry-type" clutch system. Unlike higher-tier DSG variants (such as the wet-clutch DQ250 or DQ381), these friction plates do not sit in a cooling oil bath. They operate in open air just like a traditional manual transmission, relying purely on ambient air circulation for cooling. Lacking oil-assisted heat dissipation, the system's thermal tolerance is quite low.
The Real Reason Behind the 1st to 2nd Gear Shudder
Volkswagen engineers programmed the TCU (Transmission Control Unit) of the DQ200 with fuel economy as the top priority. As a result, the factory software is set to upshift into 2nd gear almost immediately after the car starts moving—often at speeds as low as 5 to 10 km/h (3–6 mph).
This is where the trouble begins in stop-and-go city traffic. As traffic inches forward, the transmission shifts into 2nd gear; however, because vehicle speed is too low, the system is forced to constantly slip the clutch (half-clutch action) to prevent the engine from stalling. In a dry system, this continuous friction causes the clutch linings to overheat within minutes.
Repeated exposure to excessive heating and cooling cycles causes the organic surface of the friction linings to harden—a process known in the automotive trade as "glazing." A glazed clutch plate loses its friction coefficient and, instead of grabbing the flywheel smoothly, it begins to skip and chatter. That thudding vibration you feel through the floorboard when accelerating is the physical result of a glazed clutch failing to grip smoothly.
How to Tell If the Clutch Is Worn or Damaged?
While mechatronic failures often happen abruptly and leave you stranded without warning, clutch wear gives you clear signals months in advance. The most common symptoms include:
- Judder on Takeoff: A distinct shuddering or shaking that originates from under the hood and reverberates through the entire cabin when pulling away from a stop (especially on inclines).
- Harsh Upshifts / Jolting: A sharp thud or violent engagement when shifting from 1st to 2nd or 2nd to 3rd gear, mimicking an inexperienced driver dumping the clutch pedal on a manual car.
- RPM Slippage (Clutch Slip): While cruising in higher gears (e.g., going uphill in 4th or 5th gear), stepping on the accelerator causes the engine RPM to surge upward suddenly without a corresponding increase in vehicle speed. This indicates that the friction lining is worn down and can no longer transfer engine torque to the wheels.
The Solution: Clutch Kit Replacement and the Dual-Mass Flywheel Detail
Clutch judder cannot be permanently fixed through software updates or basic adaptation alone. Once the friction surface is glazed or worn beyond tolerance, the only true solution is replacing the Clutch Kit (K1 and K2 friction plates, release bearings, and engagement forks).
In the aftermarket industry, original equipment manufacturer (OEM) kits produced by LuK are standard. However, the most critical component during a clutch job is inspecting the Dual-Mass Flywheel (DMF).
An overheating clutch doesn't just damage its own friction linings; it also warps the friction surface of the flywheel and degrades its internal dampening springs. If you install a brand-new clutch kit against a warped or worn dual-mass flywheel, that new clutch kit will start juddering again in a very short time. During service, flywheel play and surface tolerances must be measured and, if necessary, replaced alongside the clutch kit.
How to Extend the Lifespan of a DQ200 Clutch (Essential Driving Tips)
Extending the life of a dry DSG clutch beyond 150,000 km (90,000+ miles) depends heavily on your driving habits. Here are the golden rules:
- Stop "Creeping" in Traffic: Letting off the brake and letting the car slowly creep forward at idle speed when traffic moves half a meter causes immense friction heat. Wait for the car ahead to create a reasonable gap, fully release the brake, apply smooth throttle to make a decisive move, and come to a complete stop again.
- Use "Manual" or "Sport" Mode in Heavy Traffic: When stuck in stop-and-go congestion, slide the gear selector into Sport (S) or Manual (M1). This prevents the transmission from hunting back and forth between 1st and 2nd gear and slipping the clutch continuously. The car stays locked in 1st gear, keeping clutch temperatures down.
- Never Hold the Car on Hills with the Accelerator: Holding the vehicle stationary on an incline using light throttle instead of the brakes forces the clutch into continuous slip, burning the friction plates in seconds. Always hold the vehicle with firm brake pressure or use the Auto-Hold feature.
- Consider Preventive TCU Tuning (DSG Software Optimization): If you recently acquired a vehicle with a healthy DQ200, an effective proactive step is having a specialized technician flash a TCU optimization map. Factory software forces an early 2nd-gear shift to meet strict emissions targets. Custom TCU tuning raises the 1st-gear hold threshold (keeping the car in 1st gear up to roughly 15–18 km/s). This eliminates gear hunting and prevents premature clutch wear at its root cause.
How is a DQ200 Clutch Replacement Performed? (Precision Assembly Detail)
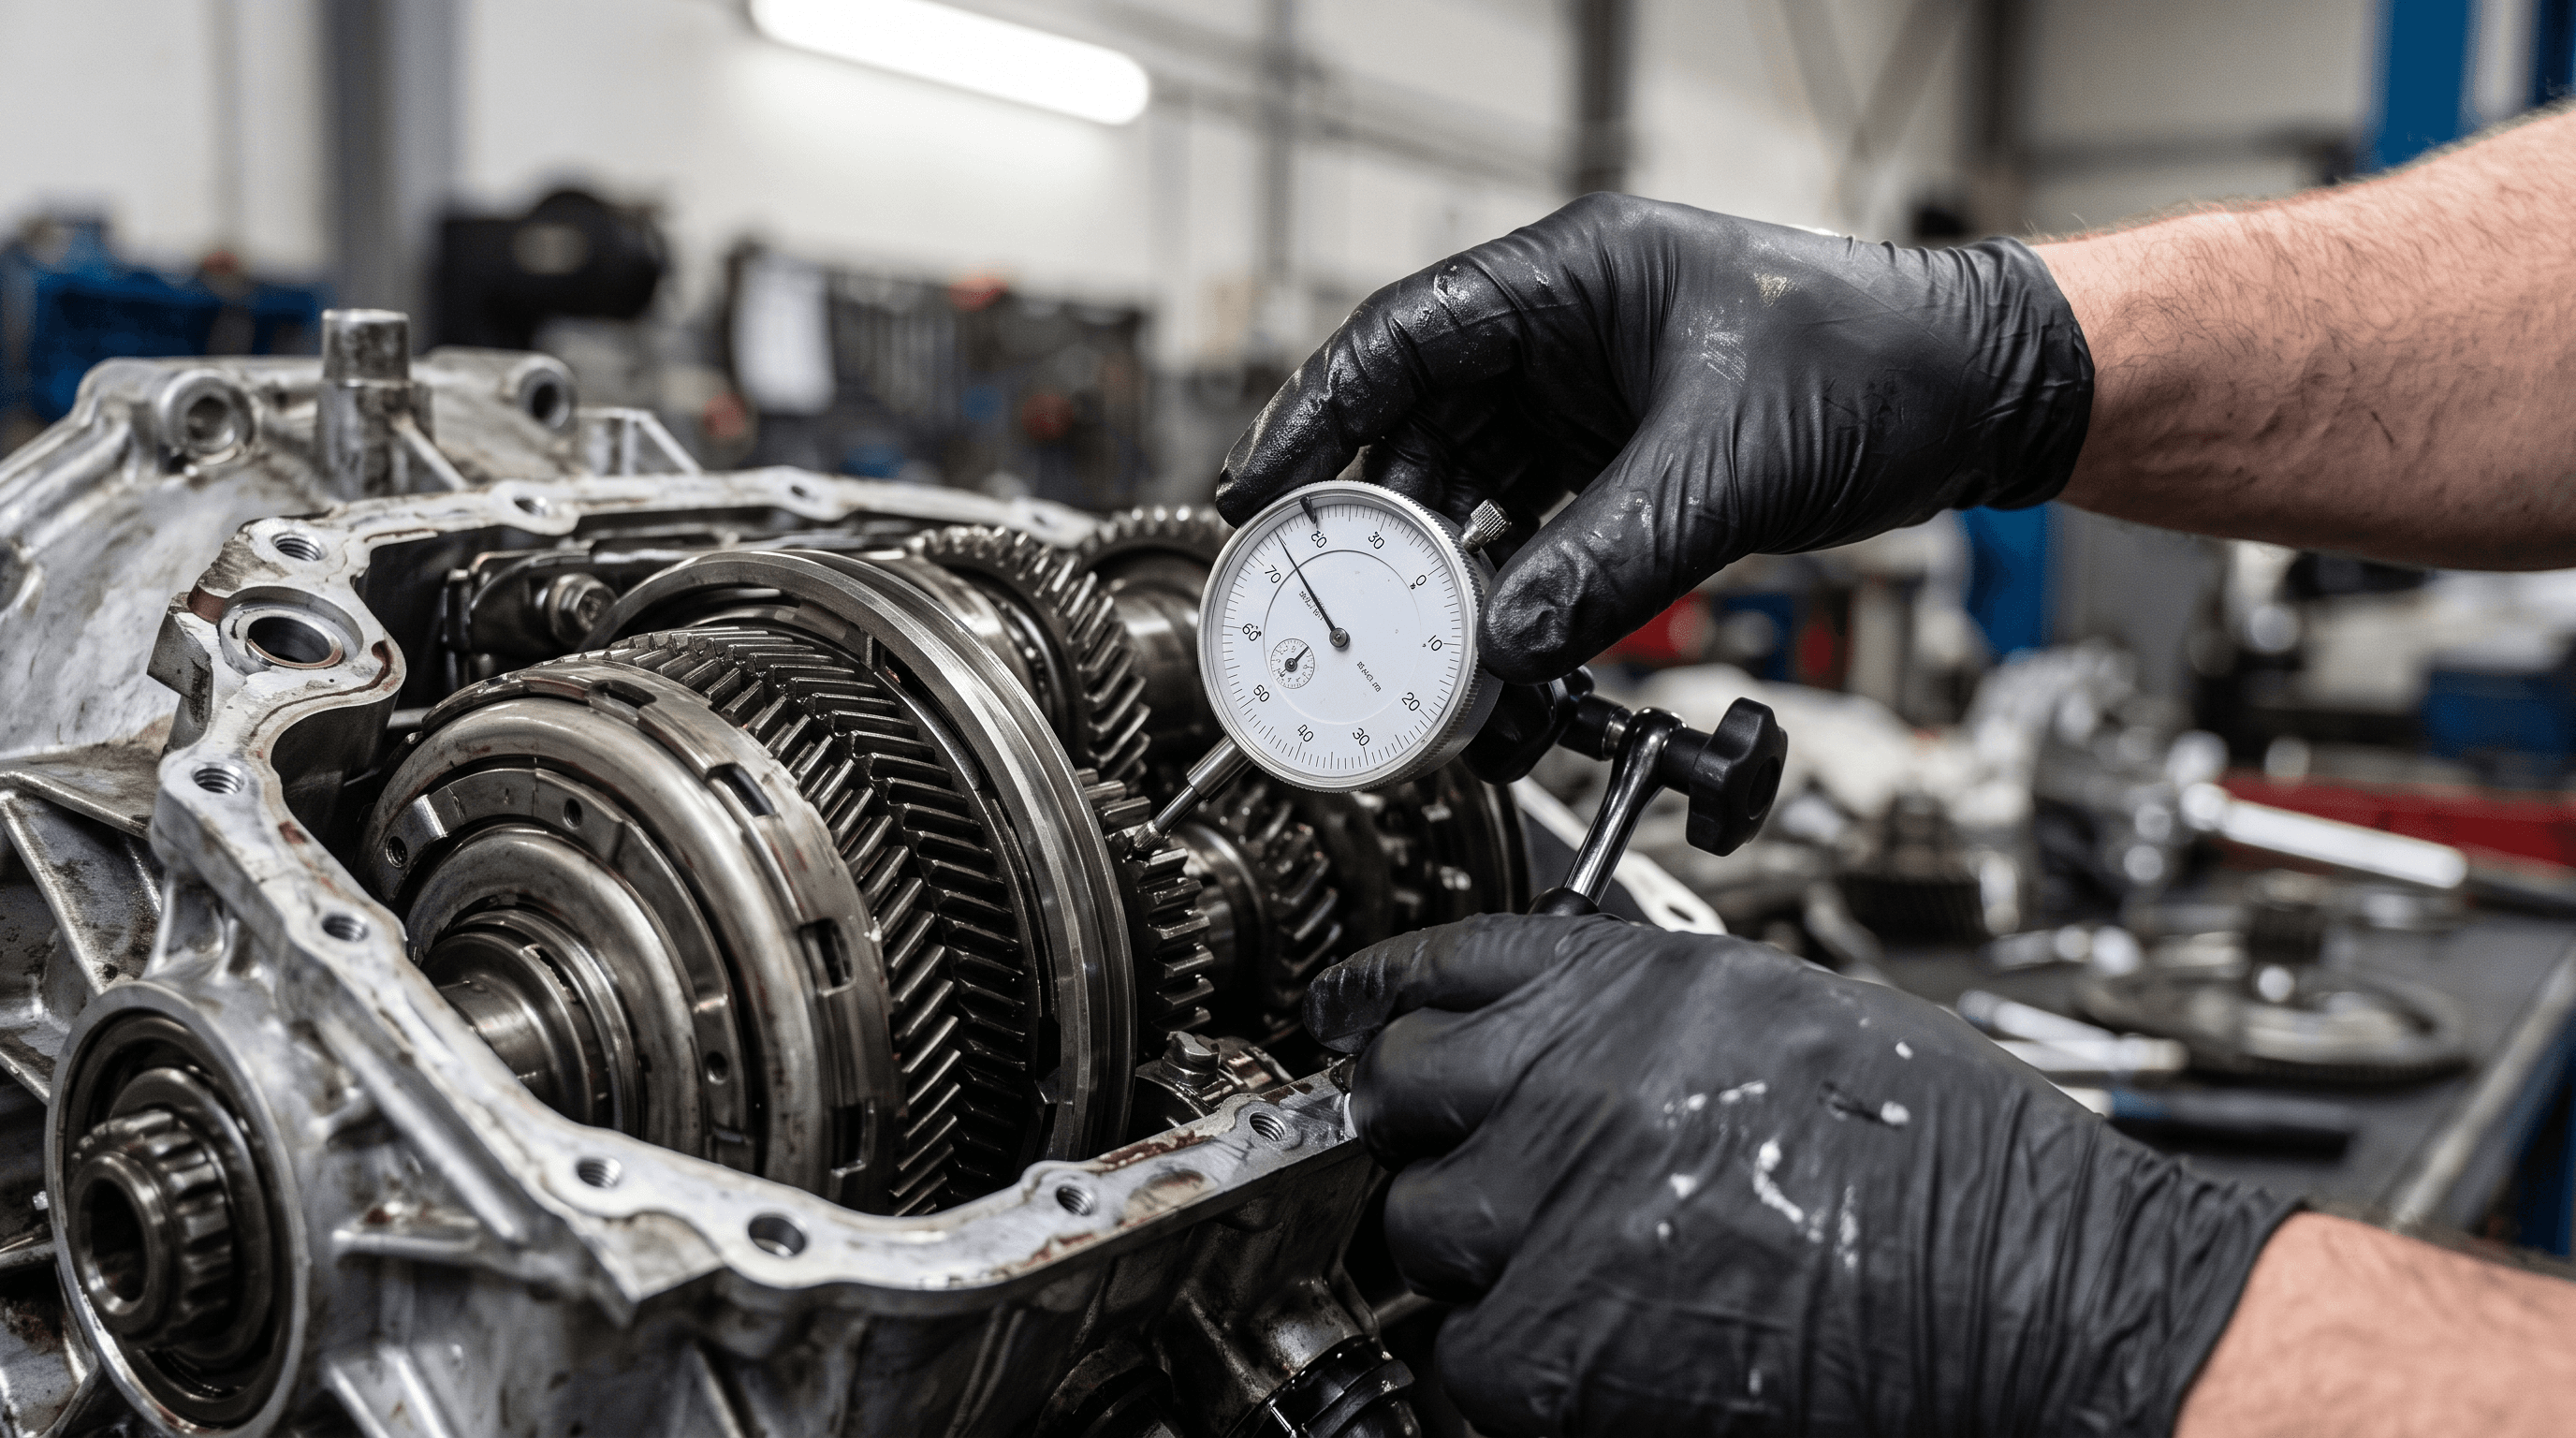
Precision dial indicator gauge used for measuring tolerances during a DSG transmission clutch installation.
Replacing a DSG clutch is fundamentally different from a standard manual transmission clutch job; it requires specialized tools and millimeter-precise calibration. Even with brand-new OEM parts, incorrect installation will result in immediate judder. The process follows these technical steps:
- Transmission Removal: The vehicle is lifted, drive axles are disconnected, and the transmission housing is unbolted from the engine block and carefully dropped.
- Disassembly & Cleaning: Leaving the mechatronic unit intact, the worn dual-clutch assembly (K1/K2) is extracted from the front of the bell housing. Clutch dust accumulation is thoroughly cleaned out.
- Flywheel Inspection: The dual-mass flywheel's rotational play and face runout are measured against factory specs. If tolerances are exceeded, it is unbolted and replaced.
- Shim Measurement & Adjustment: This is the most crucial step. When installing the new clutch kit (typically LuK), engagement clearances for both K1 and K2 must be set using precise measuring shims (washers) and specialized dial gauges. If these tolerances are off by even fractions of a millimeter, the mechatronic unit cannot engage the clutches correctly.
- Basic Settings & Adaptational Drive: Once reinstalled on the vehicle, diagnostic equipment is connected to run the "Basic Settings" procedure. The TCU relearns the exact thickness and engagement points of the new clutch pack, followed by an adaptation road test.
2026 DQ200 Clutch and Flywheel Replacement Costs in Europe
Repair costs across Europe vary depending on whether the dual-mass flywheel requires replacement and whether you choose an independent specialist or an authorized dealership. Based on 2026 European market averages:
- Clutch Kit Only (Independent Specialist): If your flywheel is within spec and reusable, replacing the clutch kit using OEM LuK parts—including labor, hydraulic fluid check, and software adaptation—typically ranges between €650 and €950.
- Clutch Kit + Dual-Mass Flywheel (Independent Specialist): If heat damage requires replacing both the clutch assembly and the dual-mass flywheel (recommended for long-term reliability), total costs generally fall between €1,200 and €1,750.
- Authorized Dealership Prices: Having the same operation performed at an official VAG dealership with genuine parts and main-dealer labor rates usually ranges between €2,200 and €3,200.
In Summary: If you feel a distinct shudder when pulling away or moving through lower gears, ignoring it will eventually lead to accelerated flywheel wear and increased load on the mechatronic unit. Adopting smart driving habits and ensuring clutch replacements are carried out by specialists with the proper shimming tools is your best guarantee for smooth, trouble-free driving.
Comments (0)
🌍 Drivisual.tv is visited from over 60 countries. No matter what language you write in, your thoughts can help a fellow car enthusiast on the other side of the world thanks to our instant AI translation. Feel free to share your thoughts in your native language!
No comments yet. Be the first to share your thoughts!
Leave a Reply